Well, after the post about the
wagon wheel chandelier David and I decided we would call this decor style "rustic chic" or even "rustic glam".....!!! Lots of repurposed things, vintage flare, wood, wrought or cast iron, grey tones and cool neutrals with a twist of teal, turquoise, bling, sparkle, and fabulous! Since we live in the country - I mean WAY out in the country - but we are not ranchers and we do not have horses or cows. Our style is rustic without the horse/cowboy theme. I'm not sure if someone else has already defined this term or if this term has already been claimed, but from now on this is what I am going to call it. Rustic chic. Yep, perfect. I am finally ready to post about a finished room! Both of the bathrooms are complete - even down to the caulking the trim.
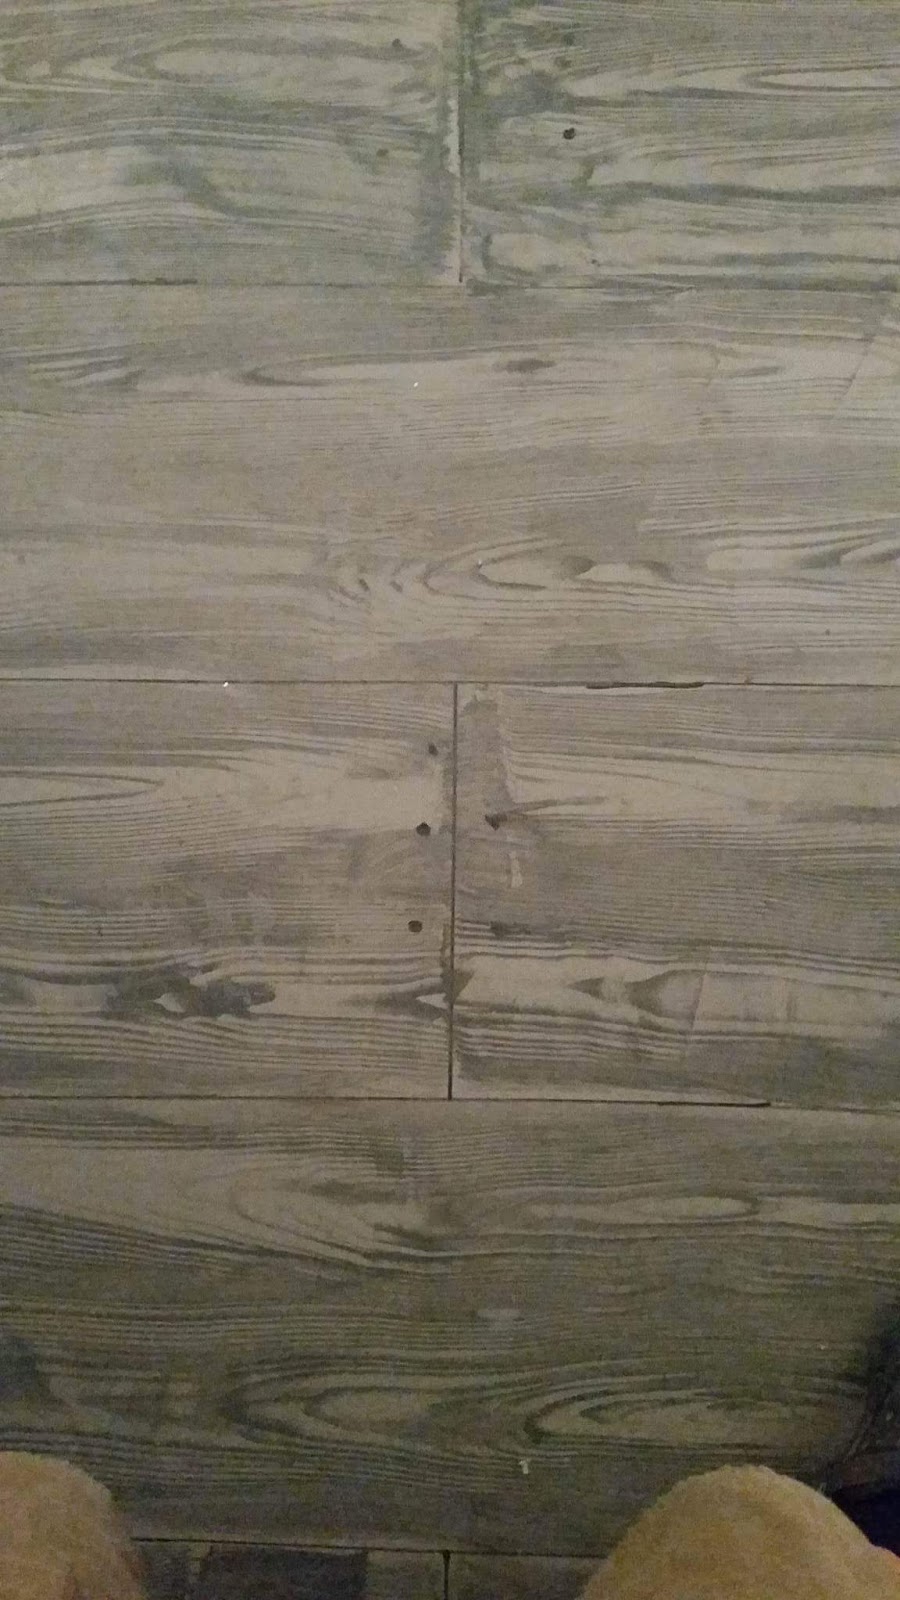
This is the first wood grained stained concrete floor. I just finished doing the entire master bedroom, so I'll be posting about that soon!
Here is the post on how I did this.
This is my bathroom! I love it! The vanity is the one I found on a local classifieds site and repainted. It was already repurposed into a bathroom vanity so it needed only paint. We did cut the legs off to make it more comfortable for me to reach - it was pretty tall for a cabinet. I used a paint roller to roll orange peel texutre after I taped and floated the drywall. The walls are Valspar satin finish in dover grey.
The floor!!!! Was purely an experiment at first. I used Valspar semi transparent concrete stain in driftwood for the base color and emory for the grain color, then a gloss finish sealer for concrete floors.


I am in love with this door! We knew we would have to have a custom cut door for this shower because the entrance is so big. I kind of got a crazy idea to do a barn door style shower door. I asked around and looked on the web and couldn't find very much information about it, only pictures. So I called a local glass installer, Paul Holmes, and asked if he could do it. He said he had never done one, but would like to try it. So I purchased the hardware from amazon. It is just wood barn door style hardware. I think I paid about $135 for it. (the glass hardware is crazy expensive!) We took it to the installer so he could see where he would need to drill holes in the glass once he recieved it in the size we wanted. The handle is also for a wood barn door. We used 1/8 in tempered glass. I am very pleased with how it turned out. Eventually there will also be a sliding barn door into this bathroom as well as the master closet.


This shower is HUGE, y'all! It is 4 ft by 6 ft straight in from the door to the wall, then another 4ft by 8ft back to the left. Three shower heads - one handheld on an adjustable track. This one shares a valve with the rain head on the ceiling. Then a seperate fixed height shower head. Two drains, a bench (specific height built for me) and two built in cubby compartments. I like to just hang out in there sometimes. If you can't find me that's where I'll be.....
These shelves are opposite the vanity. I stained them with rustoleum stain in ebony mixed with minwax weathered oak. The boards are just rough cut cedar from the local hardware store. We used just ripped down 1 by 2 scrap wood for the supports since this will be more decorative than heavy storage.