Thursday, October 20, 2016

Patio Potting Bench

     Thank goodness for cooler weather! I have been so excited to start on the outside of the house, but it has been way too hot. I just couldn't wait anymore for cooler temperatures when I did this project and I have been inside in the air conditioner every since!  We got exterior paint last weekend and are planning to start that project first week of November...... Yay! 


     This is maybe one of my favorite projects! Because I planned and built it by myself! Okay, besides the plumbing- my honey did that. And he helped me sand the countertop boards some just because it took forever and he is such a gentleman....(sigh).  I looked at a drawing from pinterest to get a general idea of how it should look. Then I got out my tape measure, pencil and graph paper and drew out the dimensions. I measured the height and length of the window behind it and decided how tall I wanted the counter and put those measurements in place in the drawing. Then, I just went to work. I used 2x4's for everything except the horizontal surfaces. 


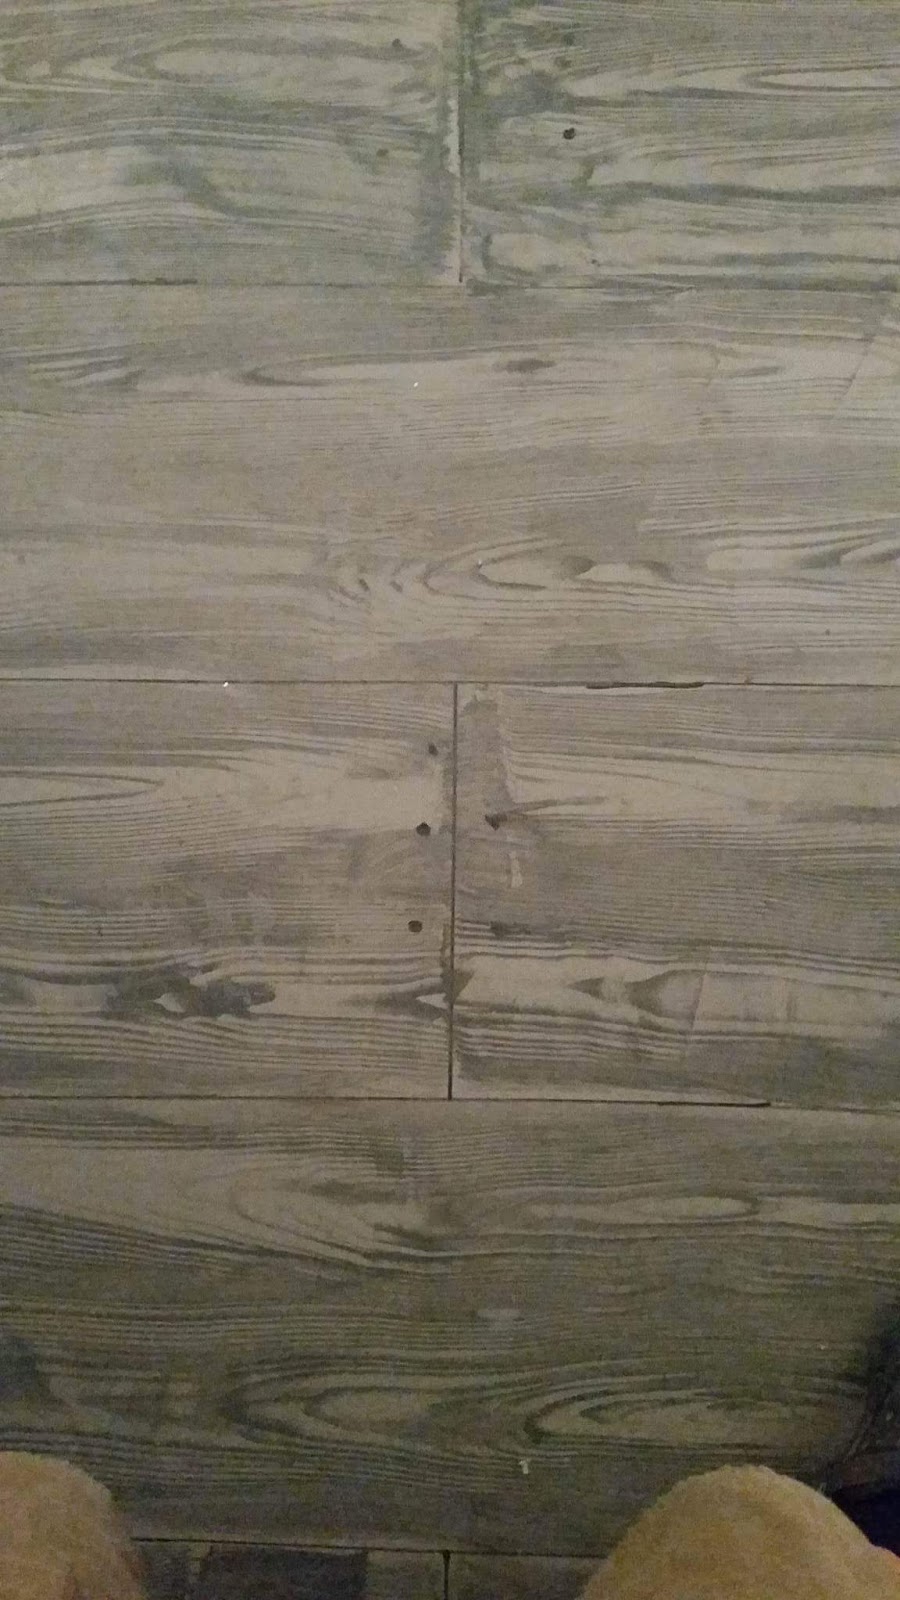
The counter top is some recycled tongue and groove wood that we pulled out of my dad's house. It is very old and most of the boards are bowed. I had a hard time getting them screwed down in some places. I found some chalky spray paint in some really cool colors and I got a little carried away with it I guess... I couldn't decide which one I liked the most lol.  Cutting the hole for the sink was the hardest part.  I traced the bottom of the tub where I wanted it and used a jig saw to cut out the circle. Actually I started the hole with a drill and a large drill bit just so I could get the jig saw blade in. Getting the hole right for the tub was the hardest part. David and I both cut on it and wrestled with it and cut some more. Eventually it came together. 


     Cut a hole in the tub (also a bit of a pain in the a#&), hole for the hose and some screw in hooks and it was ready for the master plumber! The water is supplied from a water hose that originates just around the corner. I tried out a few different ones and eventually decided on a metal fitting with a 45 degree curve to point the sprayer down into the sink.  There is a sink on the other side of the wall behind the bench so we just tied the drain into that one, worked out great. 

Sunday, September 4, 2016

Mud Room

This is the last room! I am so thrilled to be finished with this room. It has been a source of stress and anxiety for me since we moved in because it just felt dirty no matter now many times I cleaned it. We have had several mouse encounters in here and one run in with the biggest spider I have ever seen IN MY LIFE! Now I can hardly even remember it's former nastiness.
I sprayed the ceiling down with water from a garden sprayer then scrapped the popcorn texture off. Then, I rolled fresh paint on the ceiling. I spent a lot of time repairing the trim with caulk and wood putty, the joints were not pretty before. I used spackle on the walls filling nail holes. I didn't float put the grooves in the panelling in this room because after doing the entire house I just didn't have the motivation to do it lol. The beige paint over the panelling actually makes a world of difference though. The work on the cabinets probably need a post all to themselves. I tore out the last section of drawers and put a piece of new paneling on the end. I used the pedestal leg from an old table as the corner support for the desk. The top is the countertop that I cut off, I just lowered it down to 28 inches. I used 1 x 6 boards for the countertop after I stained them. I painted the cabinets with paint that I picked up at an antique store near by. The brand is paint couture.  I love it! It covers so well and the color is awesome. (Sea foam or something similar, I can't remember.) It is chalk paint, which soaked up the glaze like crazy when I tested it, so I used a coat of was sealer first then I mixed clear mixing glaze with provincial wood stain and brushed it on and wiped it off. I love the Amber tent it added. The first of the two closets I put old curigated tin on the wall up to 5 1/2 feet. The coat rack board is one of my favorites.  I found it in the barn and have been waiting for the right place for it. I color washed it with teal paint and hand painted the chorus from a Bob Wills song. It's a staple in our family lol. I used metal decorative shelf brackets on the ends to fill in the space between the board and the wall on each side and put a shelf board on top. I had some wrought iron hooks I used and some buckets hang8ng on hooks for sunglasses and such. The bench I made with 2 x 4's and an old shelf board from the barn. I used some scrapbook paper that I found and mod podge to make it look shabby. The other closet is just holding some decorative pieces until we get a deep freezer to go in that space. The floor is stained concrete. I floated a layer of ardexfeather finish on the floor to cover the old adhesive. I used valspar semi transparent concrete stain  (vaquero is the color) in a sprayer first,  then I used a sponge roller and rolled it on to even it out.
I love this room so much and I am so happy to be finished with it! Ready to move on to outside projects.

Monday, August 29, 2016

Laundry room

In this room I used pallet wood on the ceiling. There used to be a closet on each end, I tore one of them out which left a whole in the drywall on the ceiling. The popcorn texture is impossible to recreate, so I had to remove it. I am planning to go back one room at a time and remove it throughout the house, but I thought this would be a good place to start. It actually wasn't that hard. I used a gardening pressure sprayer (just a cheap one) to spray the ceiling with water.  Let it set for a few minutes, then use. Drywall knife to scrape the texture off. If it's wet enough it comes right off. It does require some prep work - hang plastic from the walls down and on the floor because it's a nightmare to clean up! My fiance, David, helped me cut the pallets apart with a reciprocating saw and metal cutting blade. I just left the nail heads in the boards. I stained them a weathered oak color mixed with provincial. I didn't sand the boards at all, I wanted them to he very rough looking. With a finishing nail gun I nailed the boards up just directly to the drywall. The pallet boards were light enough that they did not require any strips of wood to attach to between the rafters. I did not plan out the boards before putting them up. I just measured what length I needed and cut them to fit one board at a time. U found some 3/4 inch long boards in the barn that I ripped down to 2 1/5 inches with the table saw and stained to use for trim. David helped me cut out what we needed to for the light fixture and the new fixture screwed right to the pallet board. I painted the paneling in a light grey satin finish and the trim in gloss finish snow white. All of the signs I did myself on wood that I found in the barn. I'm pretty proud of this room, I did it mostly by myself. Including the cabinet for the laundry baskets. It was my first build!  No doors or sides,  just a frame and shelves. Painted and distressed with plywood top.  The French doors I found at an antique store. They are exactly the right height and fit together to cover the water heater. U used mod podge to glue scrap book paper over the widows so you can't see the water heater back there.

Monday, June 6, 2016

Breakfast Bar

Mark this one off the to-do list! The original breakfast bar was one of the very first things to go when we started working on the house.  We had to take it out to do the floor. It was hunter green formica on top with a tapered square pedastol wrapped in paneling.... I know that paneling was popular for a long time, but seriously! It was everywhere! 


I found these table legs at a furniture store for $20 a piece!   


David and I made a 2 x 4 frame for the top and used 2 x 4's to cover the top. I stained, color washed (teal and light grey) to about 4 of the boards. Then we burned the middle bored with a torch! It turned out really awsesome looking!


Tuesday, April 26, 2016

More wood grain stained concrete!

Weathered grey wide plank wood floor? Look again - it is STAINED CONCRETE! after the feather finish I used the same base color stain. Valspar semi transparent concrete stain, driftwood is the color. Then I measured out my planks and used a straight edge and oil based paint pen to draw the lines. They are 10 inches wide and 10 feet long. I offset every other one by 10 inches. Then I used the same paint pen to draw circles at the ends of the planks for nail heads. I used a much darker color grey of the same stain and mixed it with clear mixing glaze and added in a little bit of minwax wood stain in ebony to darken it up and a little bit of concrete stain in vaquero to make it a bit warmer. I brushed it on one plank at a time and I used a graining tool to pull the mix and give it a grain effect.

Lesson learned the hard way: write down your mix proportions when you get it how you want it the first time because as much as you believe that you will remember - you may not remember..... then it's trial and error to get it the right consistency and shade again.

Retiring the Recessed Florescent Light


It's been a while since I posted anything - maybe because I haven't been finishing many projects now that I don't have a deadline anymore post housewarming/birthday party..... I have been bouncing around from project to project not really getting very far on anything. This is the last project we completed about a month ago. I love it so much! It is really hard to take a picture of a light fixture where you can see it for the 4 super intense light bulbs when you have to have the light on to see it in the first place! Anyhow, here it is. 


finished kitchen recessed light
Here is the back story on this light.  The ceiling already had the recessed 4 ft by 4 ft light box (I guess you call it) with 2 florescent lights inside. Whoever put it in did a good job. The sheet rock was completely finished and textured with that oh so lovely glitter popcorn throughout. When we started talking about what to do with it the guys (David and Shipp) asked me if we were just going to cover it with sheet rock and go on with our lives. This is what it looked like before:


First of all I knew there was no way I could make the new drywall match the rest of the ceiling and even though we are going to remove the popcorn texture at some point we are not ready to do it now (because we would have to do the kitchen, dinning and living room at the same time - there is no threshold between these rooms) and I could not live with the ceiling not all matching. I also had a feeling I could find something cool to do here. I did some Pinterest searching and found this awesome trimmed out-tin tile-can light thing. I thought it would add some really cool detail to just a regular light fixture without adding a crazy light fixture. 


David did all of the work on this besides the painting. Bless his heart, he worked in the attic cutting through studs and beams for the can lights and wiring them in for a little over a day! Then the trim...... It was a doozy to say the least. The vertical walls of the recessed area were not square to the horizontal parts. He had to shim the base layer of trim so the corners would work without a case of caulk. We ended up using 1 inch thick pine lining the vertical side walls with 5 inch base first, then crown molding on the inside corners, then a decorative outside corner piece.  I got the tiles from Wayfair for super cheap. They are faux copper finish which will go really well with the chandelier that I found for above the sink - one day when it gets put in...... David did a great job and I just love it so much!  

Friday, April 8, 2016

A bathroom for the Princesses

     I have been so busy I haven't had a chance to post the final results of the girl's bathroom. We actually just got back from vacation at the lake - much needed after the house warming party and 2 1/5 months of non stop remodeling. Here it is! The vanity is the dresser I started on when I first bought the house and I just couldn't wait to get to work on it.  It belonged to my parents and my dad's mother before that. The sit down vanity in the 'vanity knook' is from my bedroom at mine and Jonas's old house. 
     I used Valspar oil based porch and floor paint on the floor and a stencil with oil based high gloss bright white, then DuraSheen gloss floor sealer.  I absolutely love the stencils from Royal Design Studio. Their stencils are so durable and beautiful.  The oil based floor paint soaked into the concrete beautifully. This is the first time I had used it on concrete and I couldn't be happier with the results.
     I trimmed out the tub enclosure with some narrow window trim and attached it using pre-drilled holes and tub and tile caulk.  **My first solo trim job! Took me a little longer than I anticipated, but I got it! The outside wall of the enclosure where the trim is attached is practically impossible to nail through and since the tub has a curved shape I had to use more than just adhesive caulk.
       The shelves are original - I thought the polyurethane wood gave the room a more rustic look.