Showing posts with label stained concrete. Show all posts

Sunday, September 4, 2016

Mud Room

This is the last room! I am so thrilled to be finished with this room. It has been a source of stress and anxiety for me since we moved in because it just felt dirty no matter now many times I cleaned it. We have had several mouse encounters in here and one run in with the biggest spider I have ever seen IN MY LIFE! Now I can hardly even remember it's former nastiness.
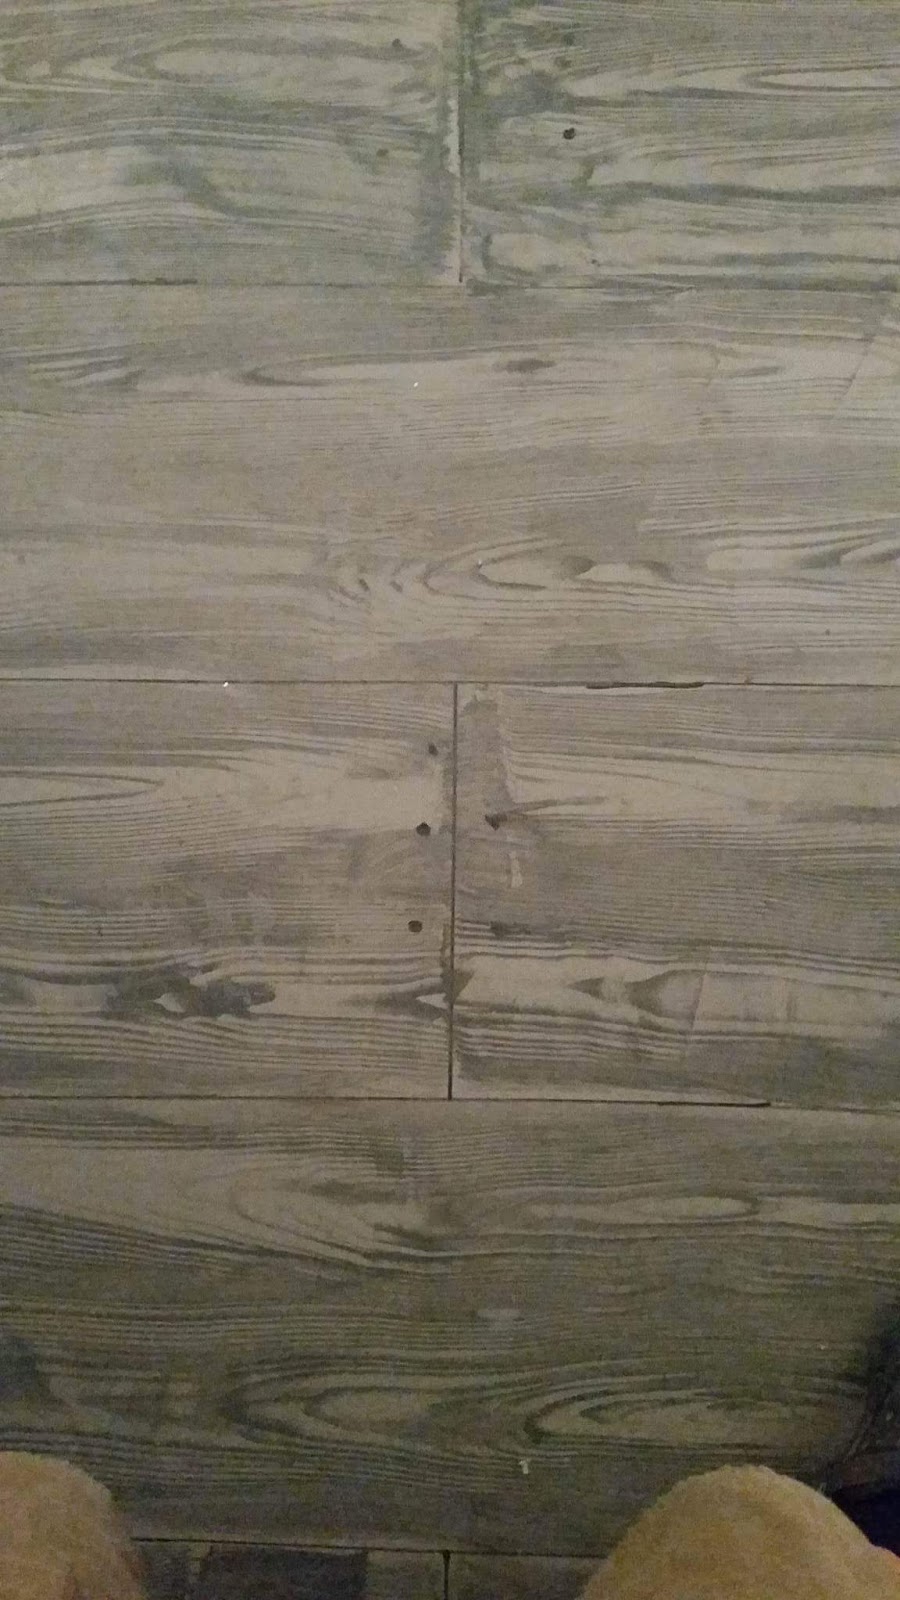
I sprayed the ceiling down with water from a garden sprayer then scrapped the popcorn texture off. Then, I rolled fresh paint on the ceiling. I spent a lot of time repairing the trim with caulk and wood putty, the joints were not pretty before. I used spackle on the walls filling nail holes. I didn't float put the grooves in the panelling in this room because after doing the entire house I just didn't have the motivation to do it lol. The beige paint over the panelling actually makes a world of difference though. The work on the cabinets probably need a post all to themselves. I tore out the last section of drawers and put a piece of new paneling on the end. I used the pedestal leg from an old table as the corner support for the desk. The top is the countertop that I cut off, I just lowered it down to 28 inches. I used 1 x 6 boards for the countertop after I stained them. I painted the cabinets with paint that I picked up at an antique store near by. The brand is paint couture.  I love it! It covers so well and the color is awesome. (Sea foam or something similar, I can't remember.) It is chalk paint, which soaked up the glaze like crazy when I tested it, so I used a coat of was sealer first then I mixed clear mixing glaze with provincial wood stain and brushed it on and wiped it off. I love the Amber tent it added. The first of the two closets I put old curigated tin on the wall up to 5 1/2 feet. The coat rack board is one of my favorites.  I found it in the barn and have been waiting for the right place for it. I color washed it with teal paint and hand painted the chorus from a Bob Wills song. It's a staple in our family lol. I used metal decorative shelf brackets on the ends to fill in the space between the board and the wall on each side and put a shelf board on top. I had some wrought iron hooks I used and some buckets hang8ng on hooks for sunglasses and such. The bench I made with 2 x 4's and an old shelf board from the barn. I used some scrapbook paper that I found and mod podge to make it look shabby. The other closet is just holding some decorative pieces until we get a deep freezer to go in that space. The floor is stained concrete. I floated a layer of ardexfeather finish on the floor to cover the old adhesive. I used valspar semi transparent concrete stain  (vaquero is the color) in a sprayer first,  then I used a sponge roller and rolled it on to even it out.
I love this room so much and I am so happy to be finished with it! Ready to move on to outside projects.

Monday, August 29, 2016

Laundry room

In this room I used pallet wood on the ceiling. There used to be a closet on each end, I tore one of them out which left a whole in the drywall on the ceiling. The popcorn texture is impossible to recreate, so I had to remove it. I am planning to go back one room at a time and remove it throughout the house, but I thought this would be a good place to start. It actually wasn't that hard. I used a gardening pressure sprayer (just a cheap one) to spray the ceiling with water.  Let it set for a few minutes, then use. Drywall knife to scrape the texture off. If it's wet enough it comes right off. It does require some prep work - hang plastic from the walls down and on the floor because it's a nightmare to clean up! My fiance, David, helped me cut the pallets apart with a reciprocating saw and metal cutting blade. I just left the nail heads in the boards. I stained them a weathered oak color mixed with provincial. I didn't sand the boards at all, I wanted them to he very rough looking. With a finishing nail gun I nailed the boards up just directly to the drywall. The pallet boards were light enough that they did not require any strips of wood to attach to between the rafters. I did not plan out the boards before putting them up. I just measured what length I needed and cut them to fit one board at a time. U found some 3/4 inch long boards in the barn that I ripped down to 2 1/5 inches with the table saw and stained to use for trim. David helped me cut out what we needed to for the light fixture and the new fixture screwed right to the pallet board. I painted the paneling in a light grey satin finish and the trim in gloss finish snow white. All of the signs I did myself on wood that I found in the barn. I'm pretty proud of this room, I did it mostly by myself. Including the cabinet for the laundry baskets. It was my first build!  No doors or sides,  just a frame and shelves. Painted and distressed with plywood top.  The French doors I found at an antique store. They are exactly the right height and fit together to cover the water heater. U used mod podge to glue scrap book paper over the widows so you can't see the water heater back there.

Tuesday, April 26, 2016

More wood grain stained concrete!

Weathered grey wide plank wood floor? Look again - it is STAINED CONCRETE! after the feather finish I used the same base color stain. Valspar semi transparent concrete stain, driftwood is the color. Then I measured out my planks and used a straight edge and oil based paint pen to draw the lines. They are 10 inches wide and 10 feet long. I offset every other one by 10 inches. Then I used the same paint pen to draw circles at the ends of the planks for nail heads. I used a much darker color grey of the same stain and mixed it with clear mixing glaze and added in a little bit of minwax wood stain in ebony to darken it up and a little bit of concrete stain in vaquero to make it a bit warmer. I brushed it on one plank at a time and I used a graining tool to pull the mix and give it a grain effect.

Lesson learned the hard way: write down your mix proportions when you get it how you want it the first time because as much as you believe that you will remember - you may not remember..... then it's trial and error to get it the right consistency and shade again.

Tuesday, March 22, 2016

Rustic Chic Master Bath

     Well, after the post about the wagon wheel chandelier David and I decided we would call this decor style "rustic chic" or even "rustic glam".....!!! Lots of repurposed things, vintage flare, wood, wrought or cast iron, grey tones and cool neutrals with a twist of teal, turquoise, bling, sparkle, and fabulous! Since we live in the country - I mean WAY out in the country - but we are not ranchers and we do not have horses or cows. Our style is rustic without the horse/cowboy theme. I'm not sure if someone else has already defined this term or if this term has already been claimed, but from now on this is what I am going to call it. Rustic chic. Yep, perfect. I am finally ready to post about a finished room! Both of the bathrooms are complete - even down to the caulking the trim.
This is the first wood grained stained concrete floor. I just finished doing the entire master bedroom, so I'll be posting about that soon! Here is the post on how I did this.


This is my bathroom! I love it! The vanity is the one I found on a local classifieds site and repainted. It was already repurposed into a bathroom vanity so it needed only paint. We did cut the legs off to make it more comfortable for me to reach - it was pretty tall for a cabinet.  I used a paint roller to roll orange peel texutre after I taped and floated the drywall. The walls are Valspar satin finish in dover grey.


The floor!!!! Was purely an experiment at first. I used Valspar semi transparent concrete stain in driftwood for the base color and emory for the grain color, then a gloss finish sealer for concrete floors.


I am in love with this door! We knew we would have to have a custom cut door for this shower because the entrance is so big. I kind of got a crazy idea to do a barn door style shower door. I asked around and looked on the web and couldn't find very much information about it, only pictures. So I called a local glass installer, Paul Holmes, and asked if he could do it. He said he had never done one, but would like to try it. So I purchased the hardware from amazon. It is just wood barn door style hardware. I think I paid about $135 for it. (the glass hardware is crazy expensive!) We took it to the installer so he could see where he would need to drill holes in the glass once he recieved it in the size we wanted. The handle is also for a wood barn door. We used 1/8 in tempered glass. I am very pleased with how it turned out. Eventually there will also be a sliding barn door into this bathroom as well as the master closet.


This shower is HUGE, y'all! It is 4 ft by 6 ft straight in from the door to the wall, then another 4ft by 8ft back to the left. Three shower heads - one handheld on an adjustable track. This one shares a valve with the rain head on the ceiling. Then a seperate fixed height shower head. Two drains, a bench (specific height built for me) and two built in cubby compartments. I like to just hang out in there sometimes. If you can't find me that's where I'll be.....


These shelves are opposite the vanity. I stained them with rustoleum stain in ebony mixed with minwax weathered oak. The boards are just rough cut cedar from the local hardware store. We used just ripped down 1 by 2 scrap wood for the supports since this will be more decorative than heavy storage.


Wednesday, March 9, 2016

Wood Grain Stained Concrete!

Yep! Stained Concrete!


     I may have said this before about other projects in this house, but I am saying it again here..... This may be my favorite thing so far!  Shipp did an amazing job with the feather finish - It's amazing the  difference it makes in a room! I posted previously about this miracle stuff - Ardex feather finish.


   So, here is the feather finish (left) and with the base coat (right). Pardon the toilet hole... not sure of the technical term to use, but that's the nicest thing I can come up with (blah!). I used Valspar semi-transparent concrete stain in driftwood, which is what I used in the rest of the house.  I just rolled it on with a paint roller.


   I used Valspar semi-transparent concrete stain in ember for the darker grain top coat. I is kind of a dark cool gray with a hint of deep blue - I love this color! I picked up a graining tool from Lowes. It is a funny looking little piece of magic! I have no idea how this thing makes wood grain, but it is awesome. 

* Important tip - use Valspar mixing glaze to thicken the stain. I used an entire jar which is about 1 pint of glaze with about 1 1/2 cups of stain. I love mixing glaze because you can mix it with any paint to make it more workable for faux finishes.

   You work in small areas, 2-3 feet at a time. Spread a thin layer of glaze/stain mix then drag the tool from one end to the other rocking it slowly from back to front to back. You can add variation to this of coarse, to get the desired look. The glaze allows some working time, so if you don't like that pass, just use your brush and spread it back out and try again.


   I will warn you, this is a very tedious process. The tool is only about 2 3/4 inches wide. You have to use short passes so it does not flood the tool and make a mess. You have to wipe it off in between passes and transitions are difficult. You can blend them with the tooth edge or a cheap throw away brush works OK also. This is a small area so it wasn't too bad, it took me about an hour.


   I'm planning to wood grain the entire master bedroom floor because I love it so much and I just can't live without it! I don't care how long it takes!


Tuesday, February 2, 2016

4th Quarter

We are down to the last few weeks and the end is in site! Construction in the master bathroom started last week and it is beginning to take form. Tile and sheet rock will be going up this week and the countertops for the kitchen are coming to their new home tomorrow.  I started priming the cabinets and the floor in the girl's bathroom and the hall are ready to stain. Here are some pictures of the progress so far.


Vanity and toilet will be on the right
Entrance to the shower. Adjustable height shower head (for me) and bench.
Shower will continue around the corner to the left with fixed shower head and rain head in the middle.

I'm scrambling for a vanity for this bathroom.  The dresser I was planning to use is in worse shape than I thought and will not work. I really want an awesome dresser or console, but I'm getting impatient! I'm hoping one turns up soon.


This is the girl's bathroom after the feather finish on the floor. The base coat of paint is going on tomorrow.  I cannot wait to show y'all the finished product!


This is the hall. Paint and feather finish are done. Ready for stain and trim.


Cabinets are so tedious! This weekend will be devoted to priming and painting so countertops can go in next week.